#notatiste15 – Creating Ribbons
Again this year I am not at ISTE and I am participating in the #notatiste15 community on Google+ and Twitter. One of the fun things we do as a community is make our own badges complete with ribbons because if you’re at a conference or even not at a conference, you need badge, right?
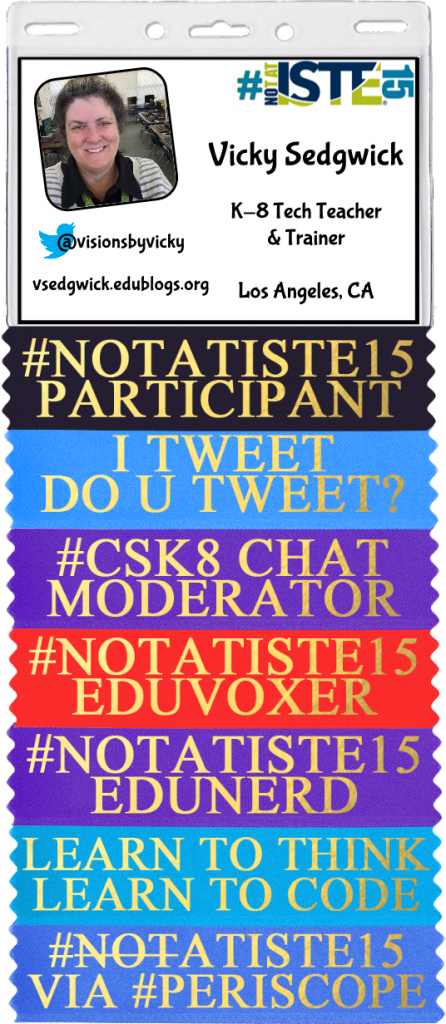
Here’s mine so far this year:
The Google+ community can participate in the challenges that Jen Wagner has put together and there are even prizes! This year, one of the challenges is to create a ribbon and share it with the community. I use Photoshop and this template to create the ribbons but a lot of people don’t have Photoshop so how can they create and share ribbons? There are a lot of ways this could be done even without Photoshop and here are a few ways to try this online.
GOOGLE DRAWINGS:
Use one of the ribbons found in the #notatiste15 Badges & Ribbons Folder and use Google Drawings to create a ribbon. You can recolor the ribbon using Image Options on the ribbon and then select a Gold color for the text. The standard ribbons (and this one) use the Times New Roman font in Bold and all upper-case letters. You can then use the File / Download As / and choose PNG (to keep the background behind the ribbon transparent) to save your ribbon as an image to share.

Another option in Google Drawing is to create the text somewhere else and combine it with a ribbon in Google Drawing. For this option, I used the Online Gradient Text Generator at Picture to People and then instead of entering text in Google Drawing, I inserted the text image on top of a ribbon and sized it to fit on the ribbon.

One note on Google Drawing, you should resize the canvas (use the 3 lines on the bottom right) to fit to the ribbon so you don’t have a huge image with a lot of blank space with a ribbon in the middle somewhere.
LUNAPICS:
Download one of the ribbons found in the #notatiste15 Badges & Ribbons Folder and upload it to Lunapic. You can use the Adjust / Adjust Colors and/or Adjust Light Levels options to change the color of the ribbon. Then, use the Draw / Text Tool to enter the text. There are lots of font options though I don’t know that Times New Roman is one of them. You can set a solid color by entering a hex code in the Color box – #CCAC00 is a good darker gold color and #FFD700 is a good lighter gold color. The fun thing with Lunapic is that it has a Gold Glitter option under Pattern (that’s what I used) and it even creates an animated GIF but it won’t be animated if you add it to other ribbons and the badge. Use the Save To Your Computer option to save your ribbon as an image to share.

PIXLR EDITOR:
Again, download one of the ribbons found in the #notatiste15 Badges & Ribbons Folder and then use the Open Image From Your Computer option in the Pixlr Editor to upload the ribbon for editing. You can use Adjustment / Hue & Saturation with the Colorize option checked to change the color of the ribbon. Then use the Text option on the Tools Palette to add your text. This will create the text on a new layer and you can play with options for the layer to get a more gradient gold look to your text. Again, the hex colors of #CCAC00 (for a darker gold) and #FFD700 (for a lighter gold) are good places to start with the color for the text. Use File / Save to save your ribbon – the defaults for a transparent PNG and full size are good.

PICMONKEY:
Again, download one of the ribbons found in the #notatiste15 Badges & Ribbons Folder and then click Edit on PicMonkey to upload the ribbon for editing. You can use Basic Edits / Color and then play with the Saturation and Temperature sliders to recolor your ribbon, if desired. Use the Text Option (Tt) and then click Add Text to insert a text box. There are lots of fonts and you can upload your own. Times New Roman is an option on PicMonkey. As on the other sites, the hex colors of #CCAC00 (for a darker gold) and #FFD700 (for a lighter gold) are good places to start with the color for the text. Use the save option to save your completed ribbon to your computer.

Just a few of many options available for adding text to the ribbons and even changing the ribbon colors. As you can see from the above examples, getting the text to be shiny is what’s tough to do. If you’re interested and you don’t have Photoshop, check out SumoPaint or download and install GIMP and check out this tutorial.
Leave a Reply